Storing Uploaded Files and Serving Them in Express
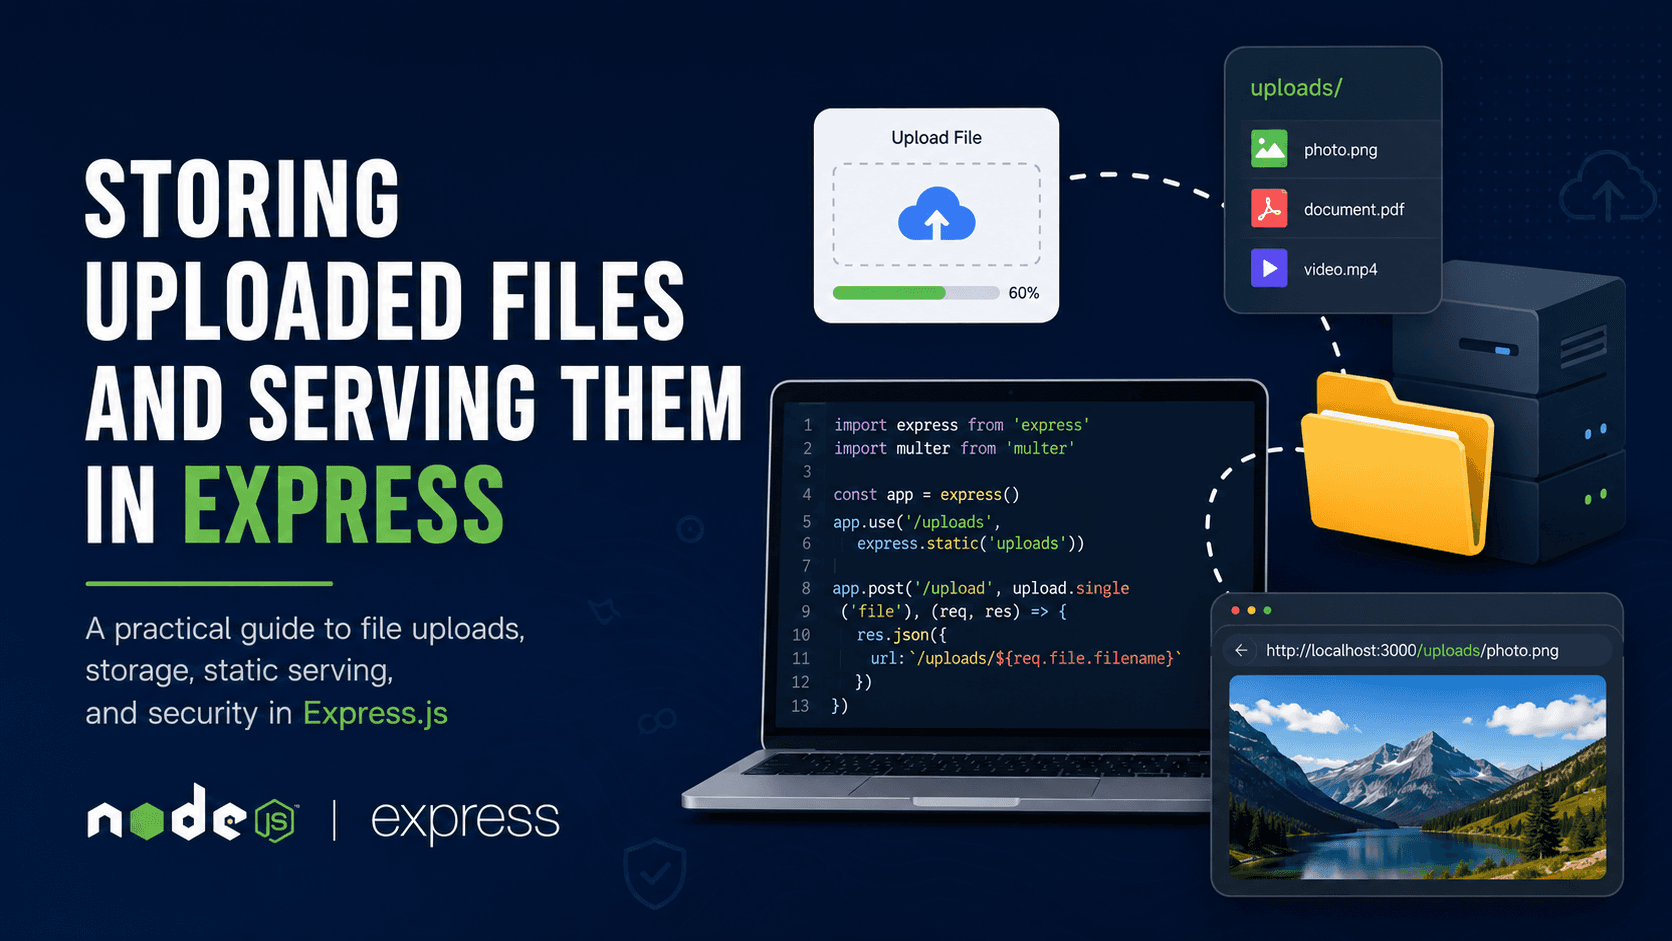
File uploads are a common feature in modern web applications. Whether users are uploading profile pictures, documents, videos, or PDFs, the backend needs a proper system to store and serve those files safely.
In Express applications, file handling usually involves two important parts:
storing uploaded files
making those files accessible through URLs
Let’s understand how this works behind the scenes.
Where uploaded files are stored
When a user uploads a file, the backend receives it as binary data. Your server then decides where that file should be stored.
In most beginner-level Express applications, uploaded files are stored inside a folder on the server itself. This is commonly called local storage.
Example folder structure:
 project/
 │
 ├── uploads/
 │   ├── image1.png
 │   ├── resume.pdf
 │   └── profile.jpg
 │
 ├── server.js
 └── package.json
The uploads folder contains all uploaded files.
Most developers use Multer middleware for handling file uploads in Express.
Example:
import express from "express";
import multer from "multer";

const app = express();

const storage = multer.diskStorage({
  destination: (req, file, cb) => {
    cb(null, "uploads/");
  },

  filename: (req, file, cb) => {
    const uniqueName = Date.now() + "-" + file.originalname;
    cb(null, uniqueName);
  }
});

const upload = multer({ storage });

app.post("/upload", upload.single("image"), (req, res) => {

  res.json({
    message: "File uploaded successfully",
    file: req.file
  });

});

app.listen(3000);
In this example:
files are stored inside the
uploadsfolderevery file gets a unique name
req.filecontains uploaded file information
Adding unique names is important because multiple users may upload files with the same name.
For example:
profile.png
Without unique naming, newer uploads may overwrite older files.
Local storage vs external storage concept
Local storage works well for:
small applications
learning projects
development environments
But as applications grow, storing files directly on the server becomes difficult to manage.
That’s where external storage comes in.
Instead of storing files locally, the backend uploads files to cloud services such as:
Amazon Web Services S3
Cloudinary
Firebase Storage
Google Cloud Storage
The overall flow looks like this:
  User Uploads File
          ↓
  Express Server Receives File
          ↓
  File Uploaded to Cloud Storage
          ↓
  Cloud Service Returns URL
          ↓
  URL Stored in Database
Here’s a simple comparison:
| Feature | Local Storage | External Storage |
|---|---|---|
| Easy to setup | ✅ Yes | ❌ More setup |
| Good for beginners | ✅ Yes | ❌ Slightly advanced |
| Scalable | ❌ Limited | ✅ Highly scalable |
| Backup handling | ❌ Manual | ✅ Managed by provider |
| Best for production | ❌ Limited | ✅ Yes |
For small apps, local storage is perfectly fine. But production-level applications usually prefer external storage because it is more scalable and reliable.
Serving static files in Express
Uploading files is only half the process. Users also need a way to access those files in the browser.
Express provides built-in middleware for serving static files.
Example:
app.use("/uploads", express.static("uploads"));
This line tells Express:
“Everything inside the uploads folder can be accessed publicly.”
Suppose your folder contains:
uploads/
└── photo.png
Now the file becomes accessible at:
http://localhost:3000/uploads/photo.png
This is called static file serving.
Static files are files that do not require backend processing before being sent to the client.
Examples include:
images
videos
PDFs
CSS files
JavaScript files
Express simply reads the file and sends it directly to the browser.
A complete example:
import express from "express";
import multer from "multer";

const app = express();

const storage = multer.diskStorage({
  destination: (req, file, cb) => {
    cb(null, "uploads/");
  },

  filename: (req, file, cb) => {
    const uniqueName = Date.now() + "-" + file.originalname;
    cb(null, uniqueName);
  }
});

const upload = multer({ storage });

app.use("/uploads", express.static("uploads"));

app.post("/upload", upload.single("image"), (req, res) => {

  res.json({
    message: "File uploaded successfully",
    file: req.file
  });

});

app.listen(3000);
Accessing uploaded files via URL
Once static serving is enabled, uploaded files can be accessed directly using URLs.
For example:
http://localhost:3000/uploads/image.png
This URL can be used:
inside
<img>tagsfor file downloads
in frontend applications
inside mobile apps
Developers often generate file URLs dynamically after upload.
Example:
app.post("/upload", upload.single("image"), (req, res) => {

  const fileUrl =
    `\({req.protocol}://\){req.get("host")}/uploads/${req.file.filename}`;

  res.json({
    message: "Upload successful",
    url: fileUrl
  });

});
Response:
{
  "message": "Upload successful",
  "url": "http://localhost:3000/uploads/1746892-image.png"
}
Now the frontend can directly display the uploaded image:
<img src="FILE_URL" />
This is how profile pictures, product images, and downloadable documents are usually displayed in web applications.
Security considerations for uploads
File uploads can become dangerous if not handled properly. A malicious user may try to upload harmful files or overload the server.
That’s why upload security is extremely important.
Restrict file types
Only allow specific file formats.
Example:
const fileFilter = (req, file, cb) => {

  const allowedTypes = ["image/png", "image/jpeg"];

  if (allowedTypes.includes(file.mimetype)) {
    cb(null, true);
  } else {
    cb(new Error("Invalid file type"), false);
  }

};

const upload = multer({
  storage,
  fileFilter
});
This prevents unsupported or dangerous file types from being uploaded.
Limit file size
Large files can slow down or crash the server.
Example:
const upload = multer({
  storage,
  limits: {
    fileSize: 5 * 1024 * 1024
  }
});
This limits uploads to 5MB.
Never trust original file names
Users can upload suspicious file names like:
../../../hack.js
Always rename files before storing them.
Keep sensitive files private
Not every uploaded file should be publicly accessible.
Examples:
identity documents
invoices
medical reports
Such files should:
stay outside public folders
require authentication before access
Organize uploads properly
A clean folder structure helps maintain files easily.
Example:
uploads/
│
├── profiles/
├── products/
└── documents/
This makes file management much easier as the application grows.
Conclucsion
Handling file uploads in Express is not just about saving files to a folder. A proper upload system should also organize files correctly, make them accessible through URLs, and protect the server from unsafe uploads.
For small projects or learning purposes, local storage is usually enough and very easy to implement. But as applications grow and start handling large numbers of users or media files, external storage solutions become a much better option because they offer better scalability, reliability, and performance.
Once you understand how uploading, storage, static serving, and security work together, building features like profile image uploads, document sharing systems, galleries, or media platforms becomes much more manageable and professional.