Understanding Objects in JavaScript
Imagine you are building a small application that stores information about a student.
You might need details like: name, age, course, city.
One way to store this information is by using separate variables:
let name = "Rahul";
let age = 21;
let course = "Computer Science";
This works for small examples, but things get messy very quickly when you start working with many students or more properties.
Instead of scattering related data across multiple variables, JavaScript gives us a much better way to organize it.
That solution is called an object.
Objects allow us to group related information together in a single structure, making our code easier to read and manage.
What Are Objects and Why Are They Needed?
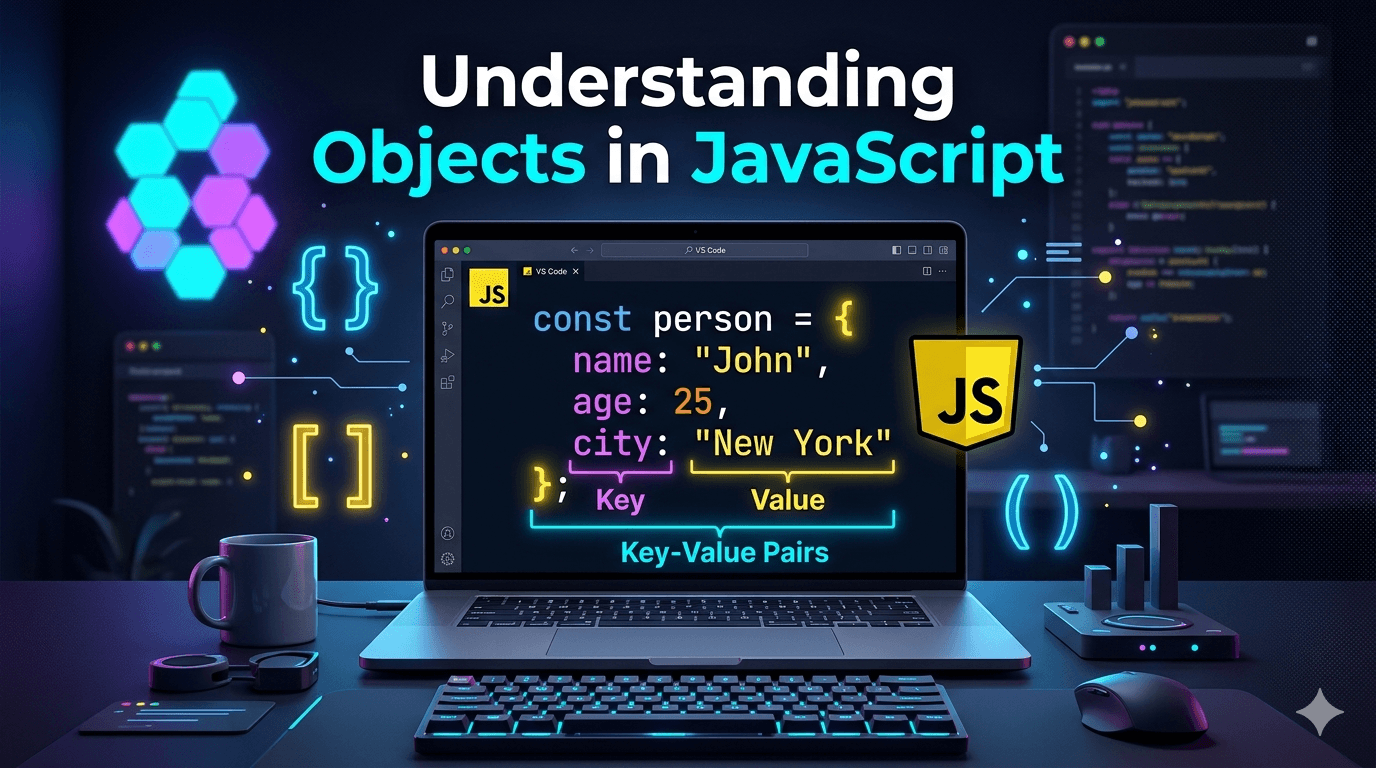
An object is simply a collection of key–value pairs.
You can think of it like a profile card or form where each field has a label and a value.
Example:
let person = {
  name: "John",
  age: 25,
  city: "New York"
};
Here:
| Key | Value |
|---|---|
| name | "John" |
| age | 25 |
| city | "New York" |
Each piece of information is stored as:
key : value
Objects make it easy to group related data together instead of spreading it across many variables.
Array vs Object
At this point, beginners often wonder:
When should I use an array and when should I use an object?
The difference is simple.
Arrays store ordered lists :
let fruits = ["Apple", "Banana", "Mango"];
You access values using indexes.
console.log(fruits[0]);
Objects store labeled information
let person = {
  name: "John",
  age: 25
};
You access values using keys.
console.log(person.name);
A good rule of thumb:
Use arrays for lists
Use objects for structured data
Creating Objects
Creating an object in JavaScript is straightforward.
We use curly braces { } and define properties inside.
Example:
let person = {
  name: "Alice",
  age: 28,
  city: "London"
};
Each property follows the format:
key : value
Multiple properties are separated by commas.
This structure makes objects easy to read and understand.
Accessing Object Properties
Once an object is created, the next step is accessing the information inside it.
JavaScript provides two common ways to do this.
Dot Notation :
This is the most common and readable method.
let person = {
  name: "Alice",
  age: 28
};

console.log(person.name);
Output:
Alice
Here we are directly accessing the name property of the object.
Bracket Notation :
Another way to access properties is by using square brackets.
console.log(person["age"]);
Output:
28
Bracket notation becomes useful when the property name is stored inside a variable.
Example:
let key = "name";

console.log(person[key]);
Updating Object Properties
Objects are not fixed — their values can change.
If you want to update a property, simply assign a new value.
Example:
let person = {
  name: "Alice",
  age: 28
};

person.age = 30;

console.log(person.age);
Output:
30
This flexibility makes objects very practical when working with dynamic data.
Adding New Properties
Another useful feature of objects is that new properties can be added at any time.
Example:
let person = {
  name: "Alice",
  age: 28
};

person.city = "London";

console.log(person);
Result:
{
  name: "Alice",
  age: 28,
  city: "London"
}
This makes objects highly adaptable when your program grows.
Deleting Properties
If a property is no longer needed, it can be removed using the delete keyword.
Example:
let person = {
  name: "Alice",
  age: 28,
  city: "London"
};

delete person.city;

console.log(person);
Result:
{
  name: "Alice",
  age: 28
}
Looping Through Object Keys
Often you will want to go through every property in an object.
JavaScript provides a convenient loop called for...in.
Example:
let person = {
  name: "Alice",
  age: 28,
  city: "London"
};

for (let key in person) {
  console.log(key, person[key]);
}
Output:
name Alice
age 28
city London
Here:
keyrepresents each property nameperson[key]gives the corresponding value
This loop is useful when you want to inspect or process all properties in an object.